Retro Web Design Between PowerPC and Intel

The Idea
The idea of building my own website came to me quite spontaneously. Instead of using modern tools, frameworks, or cloud-based builders, I deliberately chose a nostalgic path:
This website was originally created on a Mac mini G4—a machine I bought in 2005 and that spent nearly 20 years stored away in a cupboard.
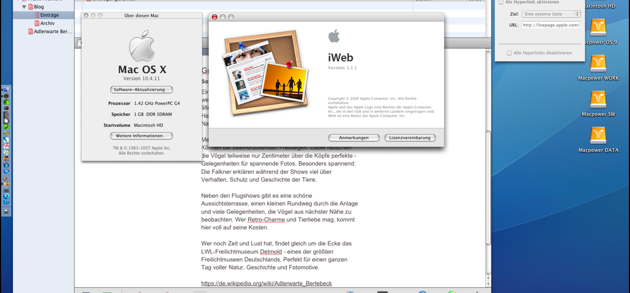
Despite its age, this small PowerPC Mac still runs surprisingly well. One key reason is a retrofitted SSD, which gave the system a noticeable performance boost. As an operating system, I use Mac OS X 10.4 Tiger, and for website creation I rely on iWeb 1.1.1 from the iLife ’06 suite.
The Creation Process
Working with iWeb feels refreshingly slow and focused:
•I launched iWeb and selected a simple blog template
•The site structure—blog, archive, and special pages (for example, Adlerwarte Berlebeck)—was built using drag & drop
•The editor feels more like a classic DTP application than a modern website builder
•The finished website is exported as a folder and uploaded manually to my web server via FTP
No live preview, no auto-deployment, no JavaScript frameworks—just files, structure, and intention.
Why Do It This Way?
Quite simply: because it’s fun.
Modern tools are undoubtedly more efficient, but working on vintage hardware with original software feels authentic and brings genuine retro character to the project. And most importantly: the site works—reliably and consistently.
If you still have an old Mac tucked away somewhere, don’t let it gather dust. With a bit of care and an SSD upgrade, these machines are still perfectly capable of creative work.
The Next Step: iWeb 3.0.3
Later on, I wanted to use the final version of iWeb: iWeb 3.0.3, part of iLife ’09.
This version requires at least Mac OS X 10.5.8, which unfortunately rules out the Mac mini G4. It felt wrong to push that machine beyond its limits.
So I searched eBay and found a suitable replacement: a Mac mini Server 2010. Affordable, functional—but technically outdated.
The Upgrade
The original configuration consisted of 4 GB of RAM and two mechanical hard drives from 2010. That wasn’t enough, so I upgraded the system:
Hardware
•2 × SAN ZANG MASTER SSDs (2.5″ SATA, 512 GB each)
•OWC 16 GB RAM kit (2 × 8 GB PC8500 DDR3 1066 MHz SO-DIMMs)
Tools
•Mac mini Logic Board Removal Tool (2010–2018)
•iFixit Essential Electronics Toolkit
The Hardware Upgrade
Installing the RAM was straightforward. Replacing the hard drives with SSDs was much tighter—there’s very little space inside the enclosure.
One particularly frustrating detail: Apple had glued the temperature sensors directly to the original hard drives. This didn’t make the upgrade impossible, but it certainly didn’t make it enjoyable.
To make matters worse, the Mac mini arrived with minor damage. The WLAN antenna grille was bent, and during reassembly, only two of the three case screws could be properly secured. Annoying—but purely cosmetic. The machine works perfectly, and nothing is visible from the outside.
The Operating System Challenge
The real challenge began after the hardware upgrade. My original plan was to install Mac OS X 10.6 Snow Leopard—a system I genuinely like and that fits perfectly with iWeb.
However, the Mac mini 2010 Server originally shipped with Mac OS X 10.6.3 Server, and standard Snow Leopard installers simply refuse to run on this hardware.
After a long search, I had to accept that the original server installation media is difficult to obtain today. In the end, I installed OS X 10.11 El Capitan.
The system runs reliably, fully supports iWeb 3.0.3—and while iPhoto is missing, that’s a compromise I can live with.
Final Thoughts
This website is not a product of modern web development trends.
It’s the result of intentional deceleration, vintage hardware, original Apple software, and a genuine love for tinkering.
Sometimes, the journey matters just as much as the destination.